
Desserts
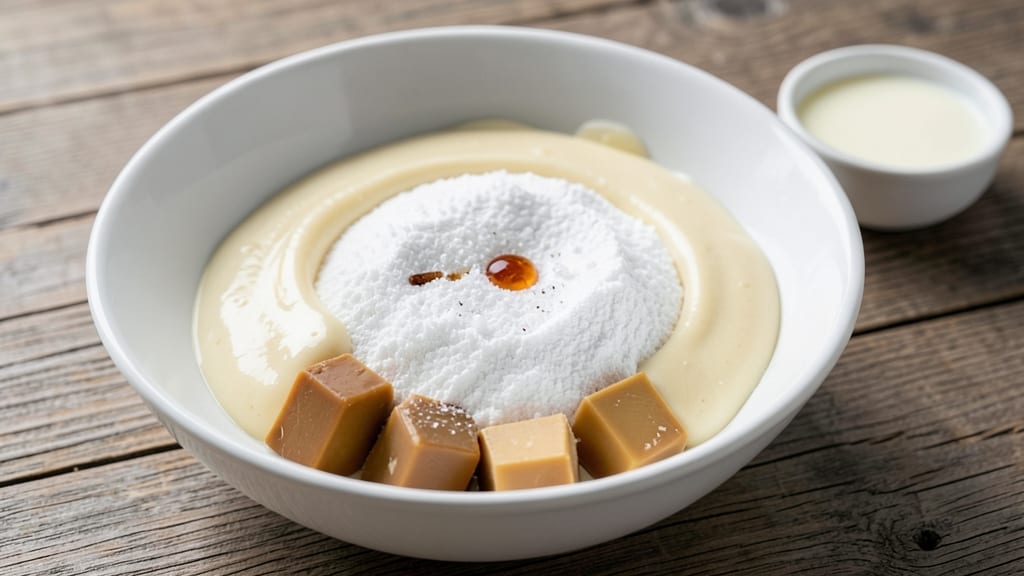
Creating a step-by-step butter icing recipe that’s velvety smooth and foolproof is simpler than you think—no fancy techniques required. The key lies in balancing butter, powdered sugar, and liquid to achieve that perfect, spreadable consistency every time.
I’ve perfected this recipe over years of decorating cakes and filling cupcakes, ensuring it’s adaptable to any flavor profile while remaining effortless to make.
This butter icing starts with room-temperature butter and powdered sugar, which blend together seamlessly for a silky texture. A splash of milk or heavy cream adjusts the thickness, while vanilla extract or citrus zest elevates the flavor without overpowering.
The beauty of this recipe is its versatility—whether you’re frosting a sheet cake, filling cupcakes, or drizzling over cookies, the same base recipe delivers professional results.
What sets this icing apart is its adjustable consistency, meaning you can thin it with milk for a glaze or thicken it with extra powdered sugar for a sturdy frosting.
Optional flavorings like almond extract, cocoa powder, or even a pinch of salt add depth, while food coloring lets you match any theme. The recipe also includes storage tips to keep your icing fresh for days, so you can prep ahead without worrying about texture changes.
Ready in just 10 minutes with ingredients you likely already have, this butter icing is the ultimate shortcut for decorating desserts without sacrificing quality. Let’s dive into the exact steps to achieve that restaurant-quality finish at home.
Ingredients for step by step butter icing
Nine simple ingredients transform into velvety butter icing that’s perfect for cakes, cupcakes, or cookies.
| Ingredient | Amount | Notes |
|---|---|---|
| Unsalted Butter 🧈 | 1 cup | Room temperature, cut into pieces |
| Powdered Sugar 🍚 | 3 cups | Sifted for smooth texture |
| Heavy Cream 🥛 | ¼ cup | Full-fat for creaminess |
| Pure Vanilla Extract 🌿 | 1 tbsp | Bourbon or Madagascar preferred |
| Milk 🥛 | 1 tbsp | Whole milk for best consistency |
| Salt 🧂 | ¼ tsp | Fine sea salt for balance |
| Lemon Zest 🍋 | 1 tsp | Freshly grated for brightness |
| Almond Extract 🌰 | ½ tsp | Optional for nutty depth |
| Food Coloring 🎨 | ½ tsp | Gel-based for vibrant color |
Butter is the foundation here—room temperature is non-negotiable for that silky blend. Grab the unsalted kind from the dairy aisle (the coldest part of the store), and let it sit out for 30 minutes before using. Land O’Lakes or Plugrá are my go-tos for consistent quality. Powdered sugar should be sifted to avoid graininess, and Domino or C&H are reliable brands. Heavy cream adds richness, but you can swap in whole milk if you’re watching calories—just add a pinch more powdered sugar to compensate. The vanilla extract? Bourbon-infused adds depth, but pure Madagascar works too.
No heavy cream? Substitute milk at a 1:1 ratio, but expect a slightly lighter texture. Swap vanilla for citrus zest or almond extract for flavor variations. The salt might seem negligible, but it balances sweetness—Diamond Crystal kosher is my preference. For color, gel-based food coloring stays vibrant longer than liquid dyes. Need a thicker icing? Add powdered sugar, 1 tbsp at a time. Too thin? A splash of milk or cream brings it back to perfection. This icing is your blank canvas—adjust to match any flavor or theme.
Store leftovers in an airtight container at room temperature for 2 days or in the fridge for up to 1 week. For longer storage, freeze in ice cube trays—thaw and rewhip as needed. The texture stays smooth if you avoid moisture exposure. Icing reheats beautifully—microwave in 10-second bursts to restore its silky consistency. Prep ahead for stress-free decorating, and always taste-test before final application.
Why You'll Love This Recipe
- No-Fuss Whip-Up: I swear by this recipe because it’s literally three bowls and a hand mixer. Melt butter, mix powdered sugar, add cream—no sifting, no straining, no stress. The kind of recipe that makes me feel like a baking pro without the mess.
- Velvet Smooth Magic: That first bite of tender cake with this icing? It’s like silk. The heavy cream keeps it luscious, the vanilla extract adds warmth, and the milk adjusts the consistency so it’s never too stiff or too runny. Honestly, it’s the kind of finish that makes people ask, “What’s in this?”
- Birthday to Brunch: This icing is my secret weapon for anything—cupcakes, sheet cakes, even toasted brioche. I’ve used it for my kid’s birthday, my mom’s coffee cake, and my own lazy Sunday pastries. It’s the one recipe that never lets me down, no matter the occasion.
- Makes More Than You Need: Between us, I always double the batch. The leftovers? Perfect for drizzling over pancakes, filling donut holes, or even sweetening iced coffee. And because it’s just butter, sugar, and a splash of milk, it’s cheap enough to keep on hand without guilt. (Yes, even on a Tuesday night.)
Step-by-step instructions for velvet butter icing
Here's how to create silky, professional-quality butter icing with just a few simple techniques.
Cream the Butter and Powdered Sugar
In a stand mixer fitted with the paddle attachment, combine the 1 cup unsalted butter (cut into pieces) and 3 cups powdered sugar. Mix on medium speed for 3-4 minutes until the mixture becomes pale and fluffy. This creaming process incorporates air, which creates that signature velvety texture.
Here's the thing—don't rush this step. You'll notice the mixture will nearly double in volume and become light and airy. If it looks grainy at first, that's normal. The powdered sugar needs time to fully incorporate into the butter fat. Stop mixing when you can see the paddle leave clean streaks in the icing.
Add Liquids and Flavorings Gradually
With the mixer running on low speed, gradually add the 0.25 cup heavy cream, 1 tablespoon milk, 1 tablespoon pure vanilla extract, and 0.5 teaspoon almond extract. Add them one at a time, allowing each to fully incorporate before adding the next. This prevents the icing from becoming too thin too quickly.
I like to add the 1 teaspoon lemon zest at this stage as well—it gives that bright citrus note that balances the richness. Mix for another 1-2 minutes until the icing is completely smooth. If it's still slightly grainy, add 1 tablespoon milk at a time until it reaches a spreadable consistency. The icing should be thick enough to hold its shape on a piping bag but still flow smoothly.
Incorporate the Food Coloring
Add the 0.5 teaspoon food coloring to the icing while the mixer is running on low speed. If you're using gel-based coloring, it will blend in seamlessly without altering the texture. For liquid coloring, add it very gradually—too much at once can make the icing runny. Mix for 30-45 seconds until the color is evenly distributed.
This is the moment that matters: the icing should now have a vibrant, even color without any streaks. If you're making multiple colors for layering or decorating, divide the icing into separate bowls now. The color will help you visualize the layers later. For best results, use the icing immediately or cover it tightly with plastic wrap to prevent it from drying out.
Season and Adjust Consistency
Add the 0.25 teaspoon salt and mix for 10-15 seconds to evenly distribute. This might seem like a small amount, but it enhances all the flavors in the icing. Taste a small spoonful—you should notice the balance between sweetness, richness, and acidity from the lemon zest.
If the icing is too thick to pipe or spread easily, add 1 tablespoon milk at a time until it reaches your desired consistency. For a thinner icing suitable for drizzling, you might need up to 2 tablespoons total. If it's too thin, chill it for 15-20 minutes in the refrigerator to thicken slightly. The icing should be cool but still spreadable when you're ready to use it.
Pro Tips For Making Step By Step Butter Icing
- SOFTEN BUTTER FIRST: Take your butter straight from the fridge and cut it into small cubes—this softens faster than a whole stick. I learned this the hard way: trying to mix cold butter into powdered sugar just makes a gloppy mess. Aim for room temperature, not melted (yes, even if you're impatient like me).
- SIFT THE SUGAR: Powdered sugar clumps like a grumpy cat if you don’t sift it first. Use a fine-mesh sieve and tap it gently over a bowl—this keeps your icing silky smooth. Skimp on this step, and you’ll end up with grainy bits that ruin the texture.
- WARM THE CREAM: Heat your heavy cream to about 110°F (just warm to the touch) before mixing it in. Cold cream makes the butter seize up, and suddenly your icing turns into a sad, lumpy disaster. A quick microwave or stovetop brings it to the perfect temp without cooking it.
- STRAIN THE VANILLA: If your vanilla extract has settled sediment, strain it through a fine sieve before adding it to the icing. I was skeptical until I tried it—now I can’t imagine skipping it. The extra step guarantees a cleaner flavor without any gritty surprises.
Essential equipment for great step by step butter icing
Stand Mixer Essentials
Your stand mixer is the workhorse here, and I can’t recommend enough investing in a quality one. I use a KitchenAid Artisan Series with the paddle attachment—it’s the gold standard for butter icing because it handles the heavy cream and powdered sugar without overheating.
For budget-friendly options, the Cuisinart SM-50 is a solid choice that still delivers professional results. The key is using the paddle attachment, not the whisk, to avoid incorporating too much air and making the icing too light. 💡
Mixing Bowls Matter
Opt for a large, deep mixing bowl (at least 5-quart capacity) to accommodate the icing’s expansion during mixing. Glass or stainless steel bowls are ideal because they don’t retain flavors from previous mixes. I prefer Pyrex glass bowls—they’re durable, easy to clean, and won’t warp over time.
Avoid plastic bowls, as they can scratch or retain odors, especially when working with citrus zest or strong extracts like almond.
Measuring Tools
Precision is key with butter icing, so grab a stainless steel measuring cup set (like OXO Good Grips) for accurate measurements of powdered sugar and liquids. A microplane is a game-changer for zesting citrus—it yields fine, flavorful strips without the bitter pith.
For extracts, a small squeeze bottle or dropper ensures you add just ½ teaspoon almond extract without overdoing it. A digital kitchen scale (like Escali Primo) is optional but helpful for weighing butter if you prefer grams over cups.
Food Coloring Prep
Gel-based food coloring is a must for vibrant, streak-free results. Brands like Wilton or Squirt are my go-tos because they blend seamlessly without altering the icing’s texture.
If you’re using liquid coloring, invest in a small silicone brush to apply it to the side of the bowl while mixing—this prevents clumping. For pastel shades, start with ¼ teaspoon gel coloring and adjust gradually.
Pro tip: Divide your icing into separate bowls before adding color to create multiple shades for decorating. 🎨
Piping Tools and Tips
If you’re piping the icing, a disposable piping bag with a Wilton 1M tip works wonders for smooth, professional-looking rosettes. For thicker icings meant for spreading, a flexible silicone spatula (like OXO Good Grips) helps smooth out layers without tearing.
If you’re filling cupcakes, a piping tip with a small round opening (like Wilton 2D) ensures clean, even layers. Store piping bags in a ziplock bag in the fridge to keep them pliable and ready for use.
Cleanup Must-Haves
Butter icing can be a sticky mess, so keep paper towels and a small bowl of warm water nearby for quick cleanups. A rubber spatula helps scrape every last bit of icing from the mixer bowl, and a microfiber cloth wipes down surfaces without leaving lint.
For stubborn residue, a damp sponge works better than soap—just avoid soaking the mixer parts, as moisture can cause rust over time. I also keep a small trash bin nearby to toss used paper towels and scraps, keeping my workspace tidy. 🧹
Nutrition facts
Frequently asked questions
Can I make this butter icing without a stand mixer?
Use a hand mixer or even a sturdy whisk in a large bowl. Mix the butter and powdered sugar for 5-7 minutes until light and fluffy, then gradually add liquids. For extra elbow grease, press the mixture through a fine-mesh sieve to eliminate any remaining lumps. The texture will be slightly denser but still delicious.
Why did my icing turn grainy?
Graininess usually happens when powdered sugar isn't fully incorporated or butter isn't at room temperature. First, mix in 1 tablespoon milk at a time until smooth. If that fails, press the icing through a fine-mesh sieve to break up any sugar crystals. Always ensure your butter is soft but not melted before starting.
How do I adjust the consistency for piping vs. spreading?
For piping, your icing should be thick enough to hold its shape but still flow through a piping bag. If too stiff, add ½ teaspoon milk at a time. For spreading (like on sheet cakes), it should be slightly thinner—add up to 2 tablespoons milk total. Chill the icing for 15 minutes if it's too runny. The ideal test? It should ribbon off a spatula smoothly.
What are the best flavor variations for this icing?
Start with the base recipe, then experiment! Swap vanilla for 1 teaspoon orange or lemon zest for citrusy brightness. Add 1 tablespoon cocoa powder for chocolate icing, or ½ teaspoon cinnamon for spiced variations. For nutty flavors, replace almond extract with 1 teaspoon peanut butterstrong> (mix in after creaming). Always adjust liquid as needed after adding dry ingredients.
Can I make this icing ahead of time?
Yes! Store it in an airtight container at room temperature for 2 days or refrigerate for up to 1 week. To use, let it sit at room temperature for 10-15 minutes to soften, then rewhip with a hand mixer for 1-2 minutes to restore smoothness. For longer storage, freeze in ice cube trays—thaw and rewhip as needed. Avoid moisture exposure to prevent graininess.